With everything that goes on during a shift, there’s a lot to keep track of and there are many contributors that lead to a good or not-so-good employee performance.
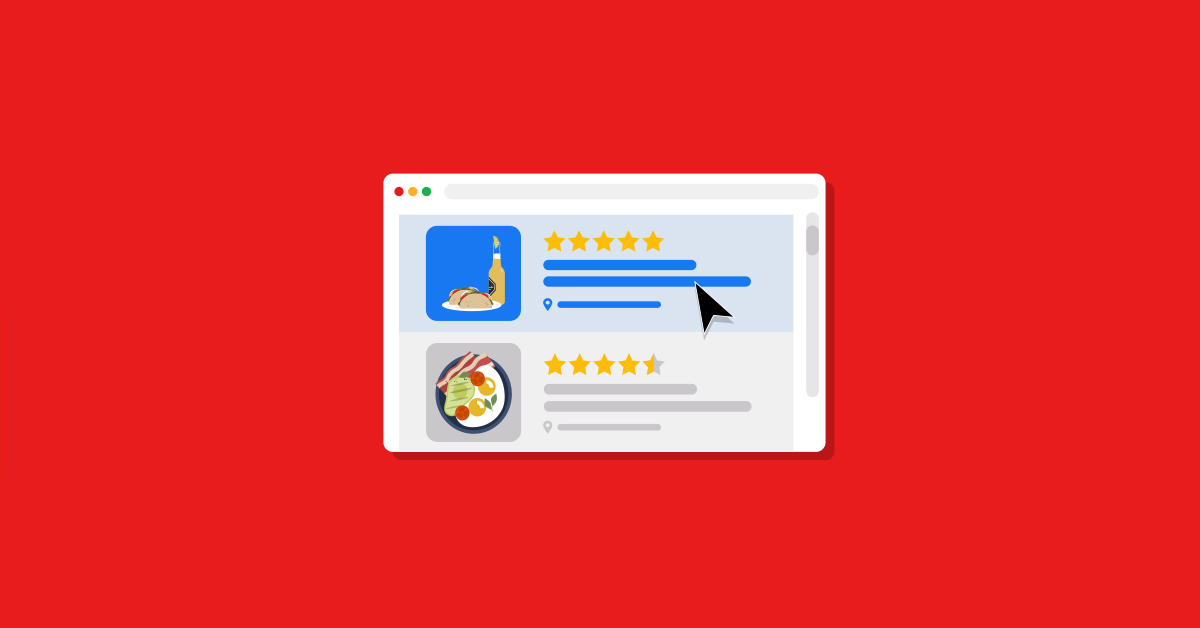
Your POS should be your go-to tool for setting clear and measurable objectives for your staff. It’s the best way to give them the constructive feedback they need in order to improve, and will lead to better customer service and increased loyalty among guests.
We’ll show you how to create advanced reports in Lightspeed Restaurant so you can help your staff be the best at what they do. So, let’s get started!
Step 1: Create a new employee performance report
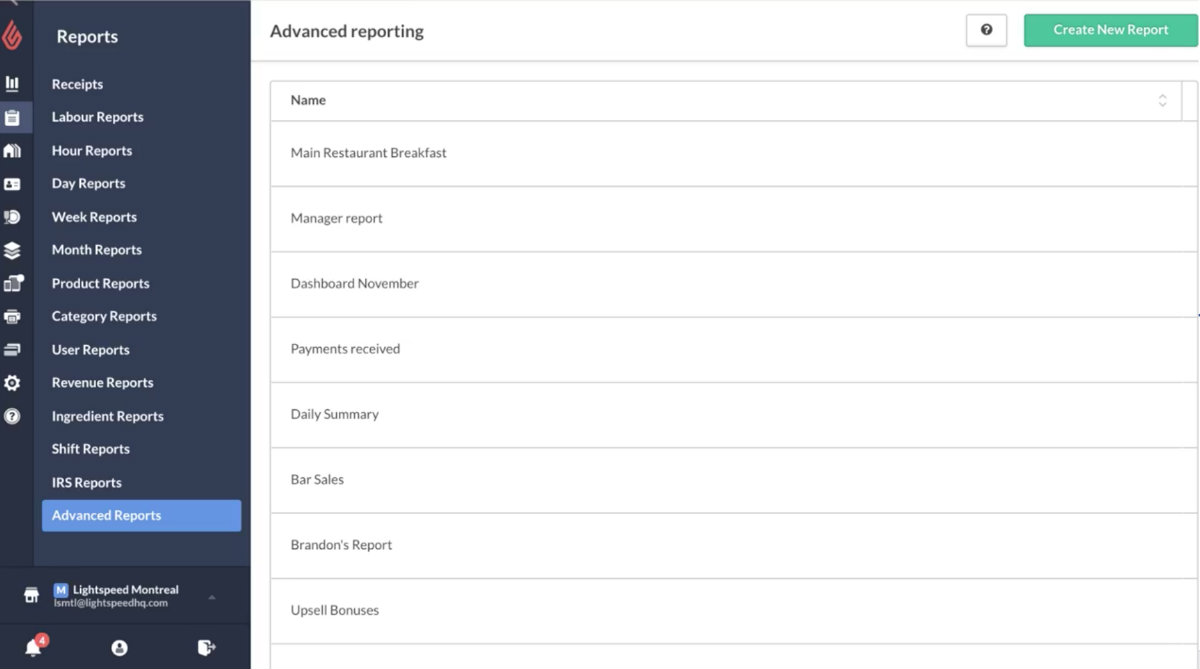
Open the Lightspeed Restaurant Manager, head over to Reports, and then all the way down to Advanced Reports. Tap Create New Report, the green button at the top right corner of your screen.
Note: Advanced Reports is an add-on module, so you may not see it in your account.
Want to try Advanced Reports for your restaurant?
We can help.
Step 2: Add a name and select your filter(s)
Once you’ve created your new report, you’ll need to add in some basics.
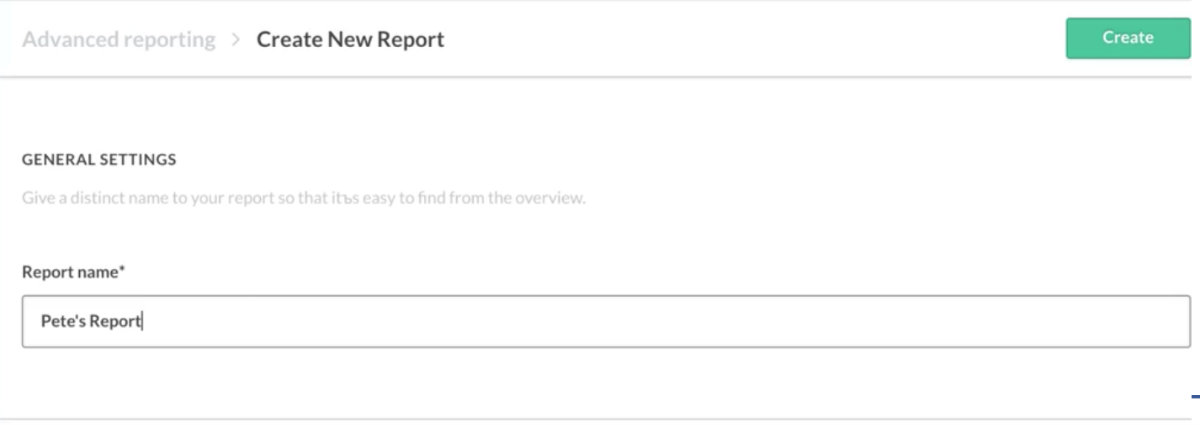
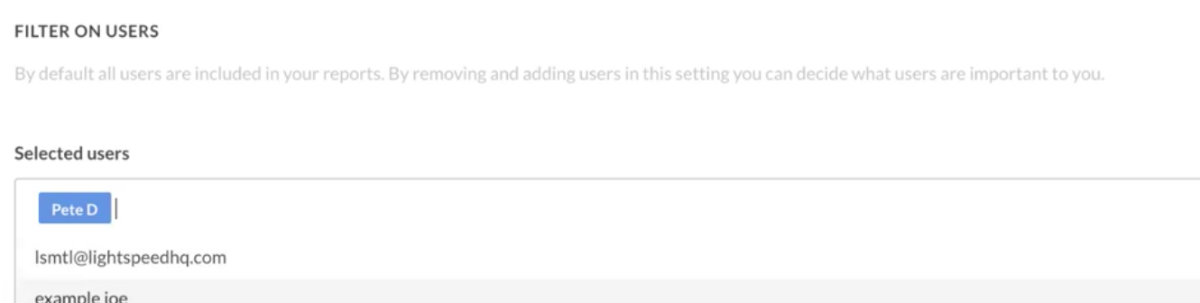
- Give your report a name so it’s easy to find. We’ll call this Pete’s Report, because in this example, we’re going to report on our server Pete and his performance.
- Next, add the right filter. You can filter by Floors, Tables, Shifts, and more. Since you’re looking at employee performance, you want to filter by User. Do a quick search of your staff member’s name in the Selected users field. In our case, we’ll search for Pete.
- Once you’re done, hit Create. This brings us to the templates for advanced reports.
Step 3: Pick your templates to customize your report
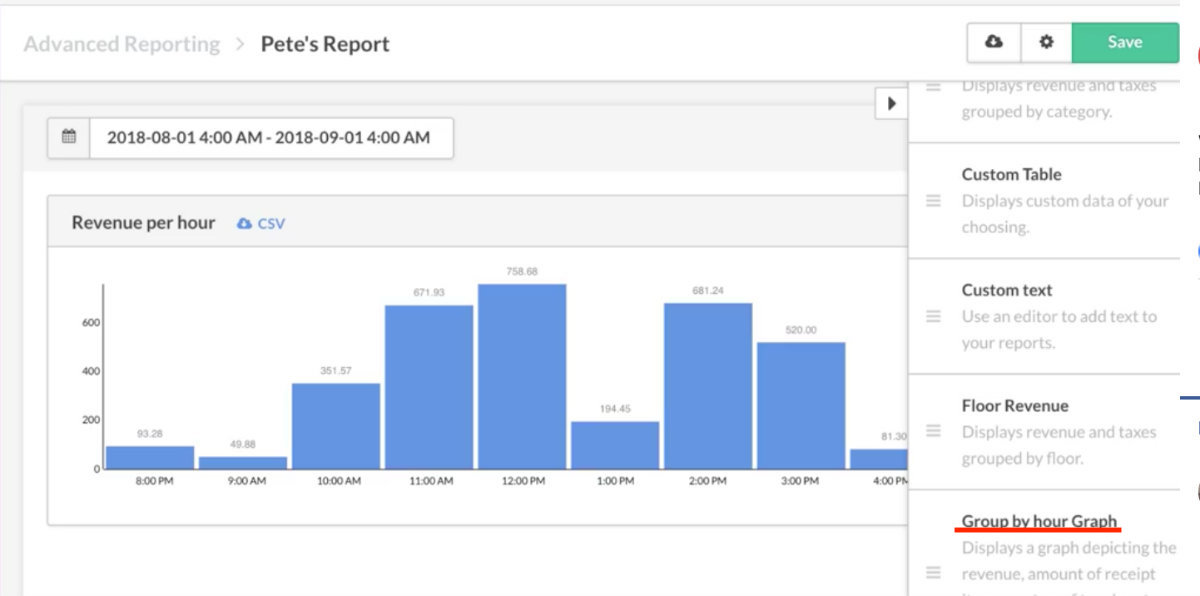
We want to see how Pete did over an entire month, so we’re going to select that date range. Next, we’ll drag and drop the templates for the performance details we’re interested in.
In our case, we want to look at the following:
- Group by hour Graph: See the revenue generated per hour so you can staff accordingly. In this example, we see that Pete doesn’t have much to do between 8 and 9 in the morning. Maybe he should start at 10 a.m., to save on labor costs.
- Category revenue: See which products and categories your staff are selling the most. For example, if there’s a trend that staff are selling specific types of wine much more than others, it may be because they need more training to feel comfortable with the rest of the wine list. Trends in menu items also help you stock up accordingly, so you never run out of popular items.
- Payments summary: Get a summary of which payments are taken, sorted by type. If something doesn’t add up at the end of the day, you can see if there are any discrepancies with the payments taken in by each staff member.
Once completed, download your entire report, or download each section individually.
Step 4: Hit Save
Now we’re equipped to set up a performance review with Pete and provide him with meaningful feedback, month after month.
Ready to do the same with your staff? Ready, set, go!
Want to run a better restaurant?
Let’s have a conversation.

News you care about. Tips you can use.
Everything your business needs to grow, delivered straight to your inbox.